 Stoneth, one of my flickr's contact has excellent black & white (B&W) photo set that I admire. I did wondered how he does that, as no exif data available in all his B&W photo. So I thought it must be post processing.
So I look for the best way to produce a B&W photo on the internet. Through all my reading, there is no exact answer for this but basically there are two ways to achieve this.
- Camera setting. For the digital camera, usually there is a menu to take black and white photo.
- Post Processing. There is lots of softwares that can easily turn your photo into black and white. But my favorites are Google's Picasa and Photoshop.
- Texture
- Structure and angles
- Symmetry and Relationships
- Mood
Some would say that colour causes confusion and that black and white reduces the image to its components. I believe that black and white images are simply different; they show the subject with a different perception.
So let's continue with post processing method.For Google's Picasa, which is currently version 2.0, has one click button to produce black & white photo. Really simple and straight forward.
But for Adobe Photoshop, there are so many ways to produce black & white and I'll cover two methods first for a start.
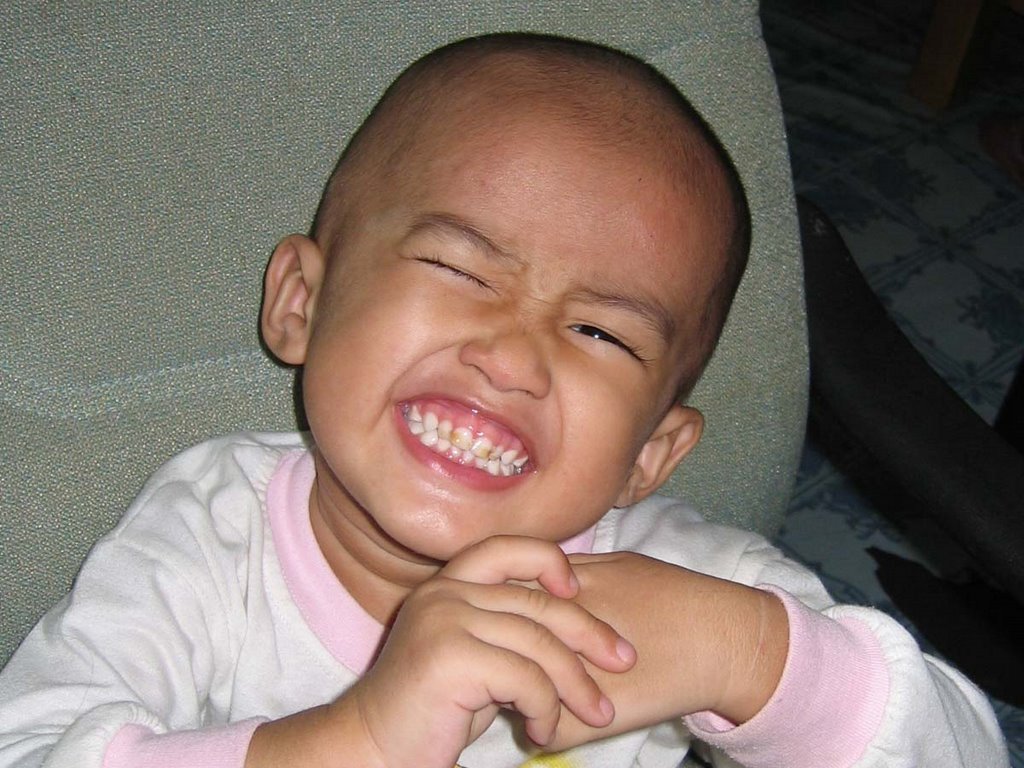 Before
Channel Mixer Method
The more popular way to convert a photo into black and white is using the Channel Mixer.
- First, open your photo and then add a Channel Mixer adjustment layer.
- Select Monochrome and adjust the percentages for RGB. Again, I usually start with 70%, 30%, 5%.
- Adjust the percentages until the photo looks good, don’t worry about great, we’ll get to that in a moment. You can also adjust the constant percentage to lighten or darken the photo. In this case I darkened the photo by setting the constant to -2%.
When done, click Ok - Now, duplicate that layer twice. If you flatten the photo, just drag the layer to the Create a New Layer Icon on the Layers window. If you prefer to not flatten, you’ll need to duplicate both the above layers. The easiest way to do this is by selecting both the adjustment layer and the photo and dragging them to the Create a New Layer Icon on the Layers window.
Click on the one of the duplicated photo layers. - Change the Screen Mode to Color Burn and reduce the opacity to something between 5% and 15% (personal preference).
- Click on the other duplicated layer
- Change the Screen Mode to Soft Light and reduce the opacity to something between 5% and 30% (personal preference).
- Now the Photo should have more depth and not look as flat. You can adjust each of these layers based on the photo of your personal taste.
- One thing I find useful is at the end to add a contrast layer, this will darken the darks and lighten the white. This is optional step.
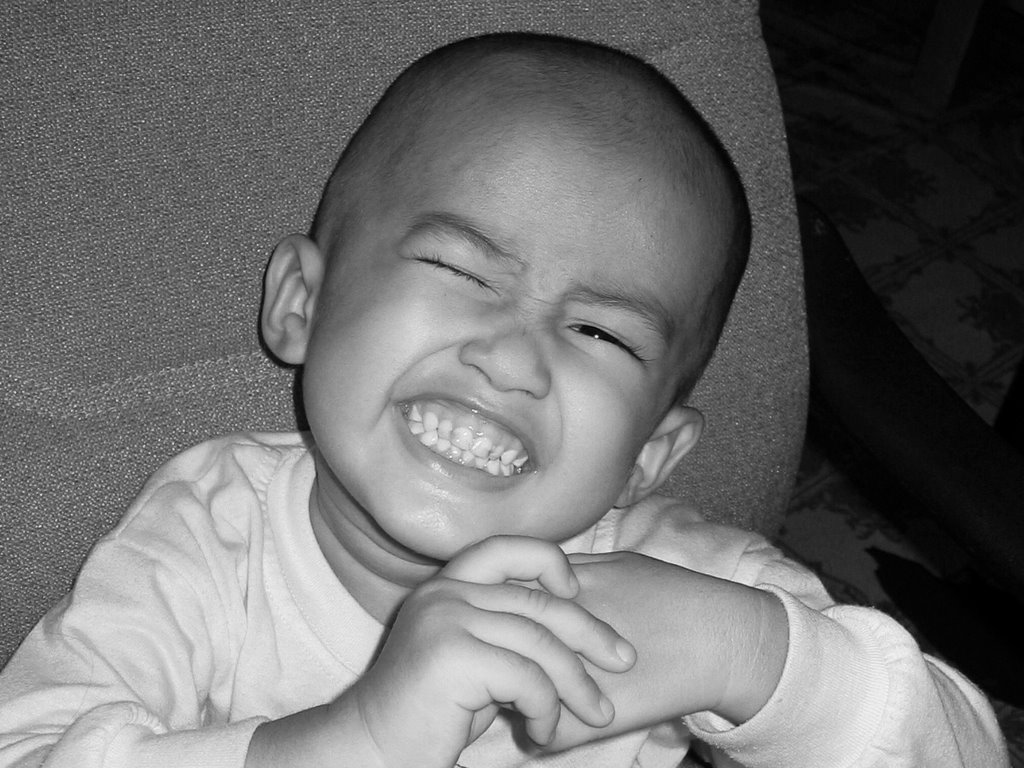 After using channel mixer method
Lab Color Method
It is a simple process, but does require the use of a robust post-processing application, such as Photoshop CS.
- Open the file you want to convert.
- Convert to Lab Color by going to Image>Mode>Lab Color
- From the channel window (if it is not open, go to Windows>Channels) and select the Lightness Channel. Select all by either going to the menu Edit>Select All or Ctrl-A or Cmd-A and copy the selection either through the menu or Ctrl-C or Cmd-C. Then convert back to RGB Mode, go to the menu Mode>RGB.
- Go back to the Channel Window and select the Red channel. Paste either through the menu or Ctrl-V or Cmd-V.
- Select the Green Channel and paste either through the menu or Ctrl-V or Cmd-V.
- Select the Blue Channel and paste either through the menu or Ctrl-V or Cmd-V.
- Reselect the top channel to make all the color channels visible again and you are done.
 After using lab color method
No comments:
Post a Comment